
Get a smart trainer or interactive bike
You have options when it comes to smart trainers and riding indoors, but other than you, either one of these options is the most important piece of the equation. A conventional “old-school” wheel on turbo trainer is the most affordable option. They will do the job, for both road and mountain bikes, but they are noisy and the indoor experience won’t be the same as on a bonafide smart device.
Smart turbo trainers like the Wahoo kickr, Elite Direto Suito, or the Tacx Neo 2T are a financial investment, but what you get in return is a quiet and realistic bike ride feel experience compared to non-interactive turbo trainers. With them you can connect to virtual worlds and augmented reality training platforms, and even meet up with friends on the route of your choice for a social ride. That’s a big deal, but more about that later.
If you’ve got an even bigger budget, and the space, dedicated interactive smart bikes such as the Wahoo Kickr Bike are a great option. We aren’t talking a standard spin bike or a stationary bike found in most gyms. Interactive complete bikes provide the same training programs, social aspect and competition features as its more affordable sibling, but you won’t have the hassle of removing your bike’s rear wheel to ride indoors, and then putting it back on to ride outside.
Smart indoor bikes are virtually silent when in use and fully size adjustable to match your current ride’s set up. They track every metrics like calories burned, speed, power output and watts, and even react to the program selected to replicate road feel and grade changes. The bike gearing is also customisable and simulated shifting exists too. Hard to get more interactive than that when cycling indoors. The incline experience is available to rear wheel smart trainers too, but you’ll have to buy that accessory separately.
https://www.instagram.com/p/CCoYAaShvZf/?utm_source=ig_web_copy_link
Other indoor riding options
We already touched on ordinary wheel on trainers. They connect your back wheel to the turbo trainer via your rear axle. Depending on the model, pedaling resistance is created through the use of fluids, wind, the repelling pole forces of magnets, or simple friction again the fly wheel (shortens the life of your rear tyre!). However, they do not offer a very natural feeling ride. If you aren’t yet sure you are ready to invest in a more expensive smart trainer, some platforms offer ways to connect your classic turbo trainer to see if the experience is for you.
A final option are rollers, but they aren’t for everyone. Before smart home trainers, they offered the closest feel to bike riding outside. The learning curve on traditional rollers is steep as no part of your bike is fixed in place to stabilise you. Standard rollers have three drums that turn in unison with a belt, one under your front wheel, and the other two cradle the rear. Balance and a fluid pedal stroke are the keys to riding them successfully.
If you want to skip that roller learning curve, new two-drum versions exist today that secure the bike’s frame via the front fork for stability. More expensive models can be connected to a virtual world and augmented reality platforms too. Just read the fine print before you buy to know your options. Any power meter or speed sensor will work the same on them.
Create an indoor riding pain cave
Now that you have your trainer, you need to choose a good spot for your indoor training. Think about your the airflow in your own home as there’s no wind indoors and you will get sweaty! It’s ok if you can’t place your training set up next to a window, just invest in one or multiple fans. Pros often use at least two fans to keep themselves cool every session and especially during longer rides and gruelling indoor cycle training rides.

No matter how many fans you use, you will sweat, a lot. That’s what pain caves are for! Consider protecting your floor and bike from your salty perspiration. Place a towel or a mat under your bike and a smaller hand towel near your handlebars to wipe your face. You can thank us later.
A good stand or a small desk next to your trainer setup is really useful. Many aftermarket versions are available for sale, or you can make your own. Use them to place your screen directly in front of your bike (so you can actually see it!), for that extra hand towel, snacks or water you may require, a fan or any audio or video remotes you need during your session. Many training apps are adapted to any iOS, MAC, PC or Android devices these says, so if you have a large screen tv or a projector, you can use your Apple TV or Google Chromecast or similar in your pain cave to go big, and I mean really big, with your image for an even more realistic visual experience.
And lastly, pay attention to your bike clothing. Stationary indoor cycling means that any chafing you experience could be worse because you aren’t moving around on the bike as if you were cycling outdoors. Many brands offer indoor bike specific lines of clothing just to satisfy the needs and growth of riders in this sector. Wearing proper cycling clothes will help you get in the mood too!
https://www.instagram.com/p/B_NRib0Fn7h/
Choose an on-line training platform
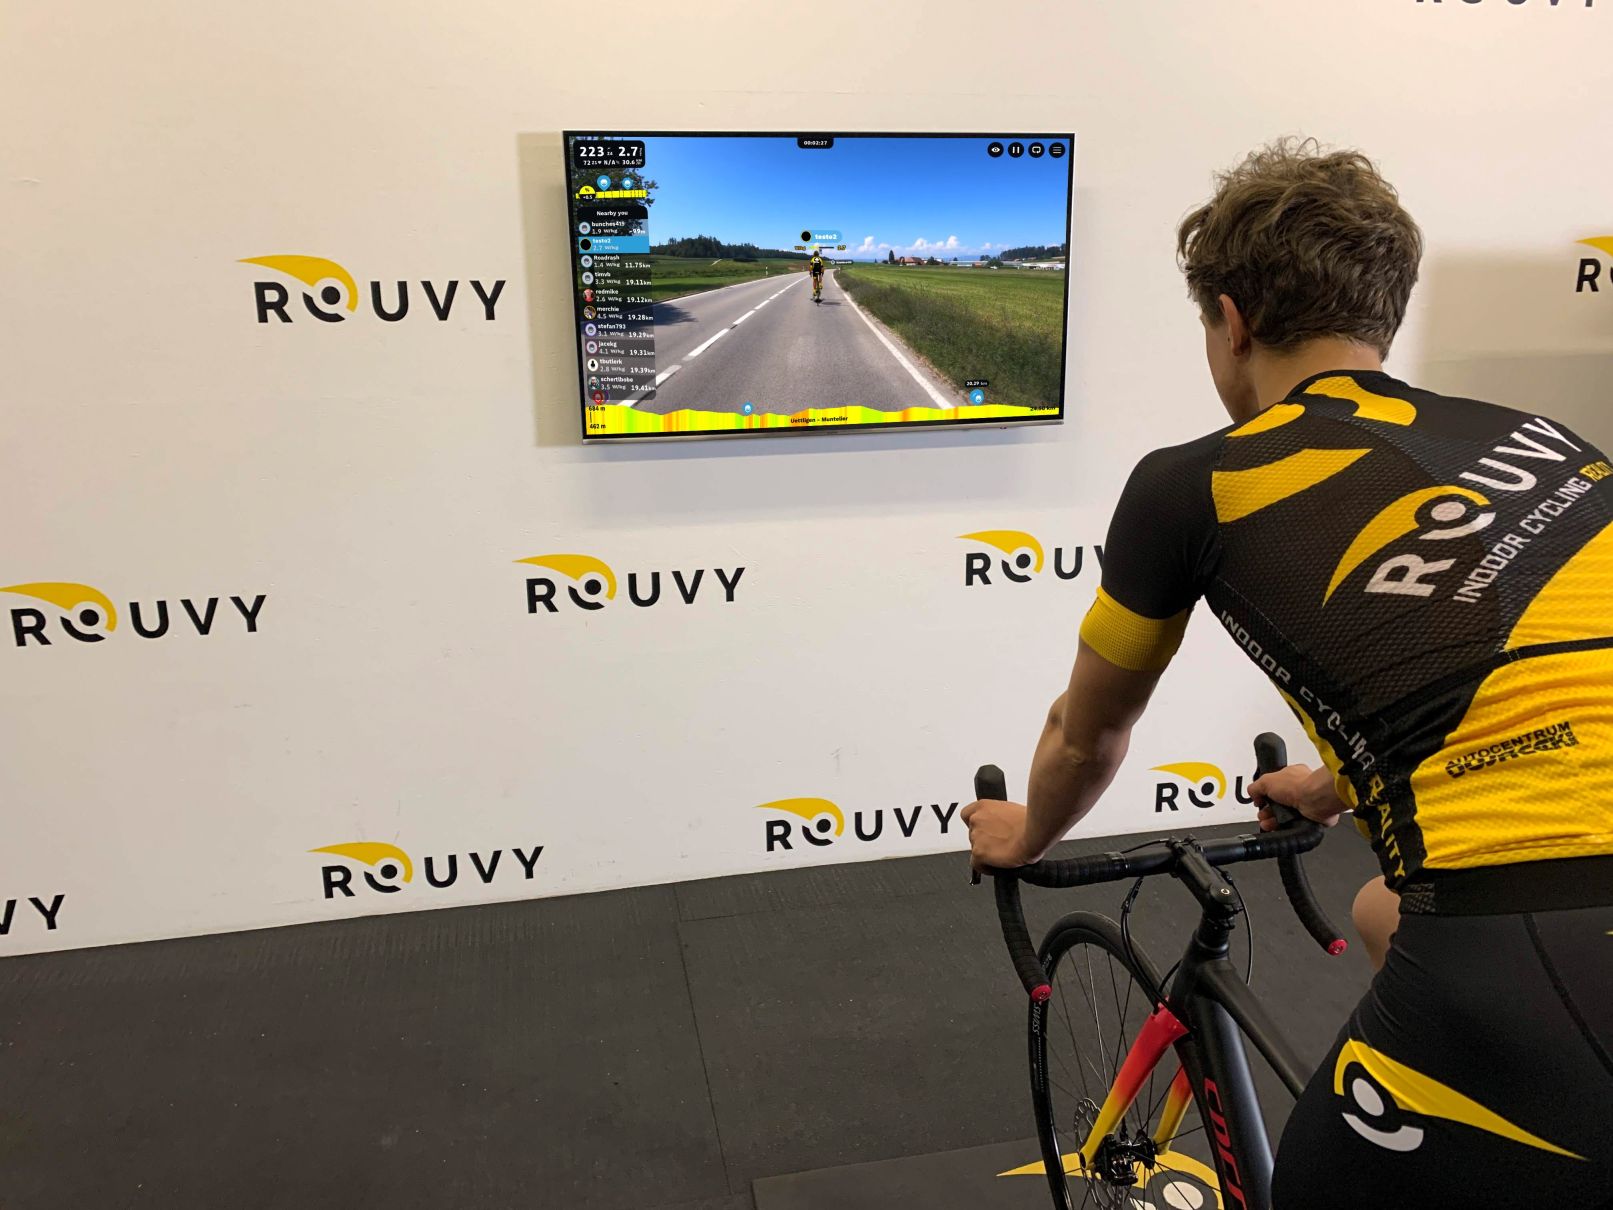
Indoor cycling at home doesn’t have to be about staring at a blank wall or distracting yourself with a movie. Give the entire bike experience a boost via an on-line training platform like Rouvy, FulGaz. Sufferfest, TrainerRoad , Zwift, or RGT (Road Grand Tours). Any one of them, and others, allow you to socialise with friends and others while training at home, following specific training programs, experience Grand Tour routes for yourself, or register for special events, and competitions.
In the end, they gamify your bike sessions, making them more fun. And you can explore new exotic routes around the world. How cool is that? But most of all, they help your indoor cycling experience to be more immersive, so much so, you might just forget you’re indoors. The chance to grab a quick workout during your lunch break, or staying dry and warm when it’s cold and wet outside isn’t too bad either. Most platforms offer a 30-day trail to find the one that is right for you.
Virtual vs Augmented Reality
So what is the difference between the apps? Some offer an augmented reality experience, and others a virtual world. Augmented reality means you are displayed as an avatar on a real road, made with real video. It’s the closest thing to being outdoors. Virtual reality means that both you and your cycling environment are virtual, like characters in a game. You’ll have to check them out for yourself.
Certain platforms may offer a specific route or place you love to ride, so look for your favourites before you subscribe. I prefer the augmented reality experience offered by Rouvy, and its one of the best values for your money. It only costs €12 per month, and each membership includes “Family sharing”, which gives you two more memberships linked your primary one for free. Save even more by getting a yearly subscription.
Reduce your training time
Now that you have your pain cave and your indoor bike virtual training setup, it’s time to decide on your fitness and training plan. One hour of indoor cycling equals to one hour of pure pedalling. Outdoors, you usually spend 10-15% of your time coasting at 0 watts because of downhills, traffic, and other distractions. Thankfully, training indoors is not only more intense, it’s also more effective. A good rule of thumb is to halve your usual training time to get the same training effect as outdoors.
Stick to two hard sessions a week
Indoor training sessions are very demanding on your legs and nervous system. That’s because of the no-freewheeling and static style of cycling. It’s important not to overdo it until you gain experience. Follow a specific training plan adapted to your level, or start with a maximum of 2 intense sessions per week and have 1-2 days rest days between when you spin easily for 20 minutes or do some cross or strength training. If you’re looking for inspiration try any one of the events offered by Rouvy. There’s no better way to test your new indoor cycling setup.