
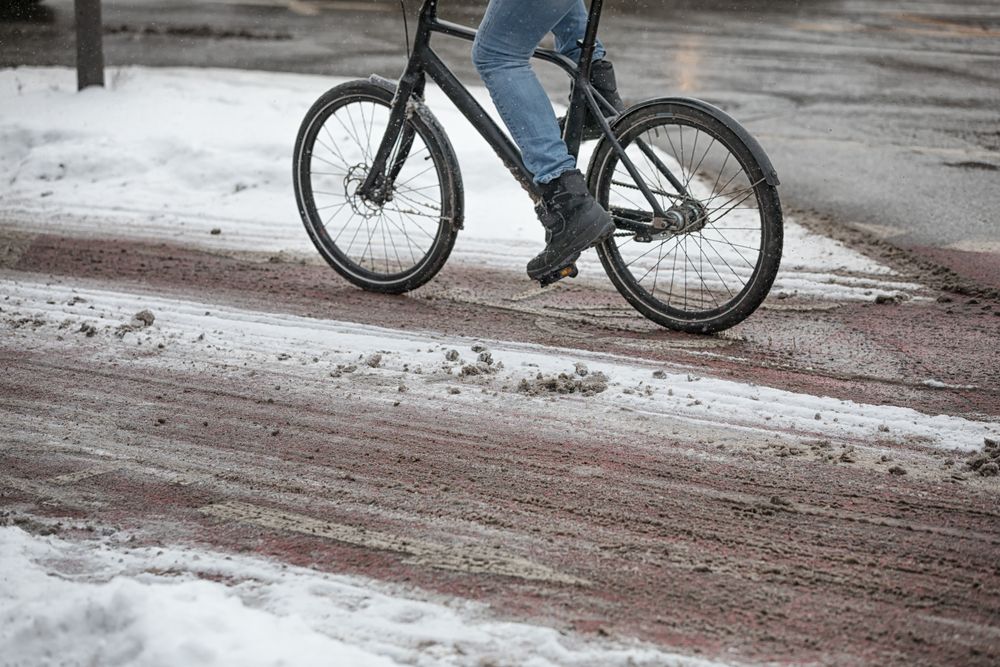
Riding with Jack Frost can be great fun, and with a bit of time and patience, commuting to work, running errands or just getting out for some exercise is possible in winter weather. Breathe new life into an old set of tyres that would normally end up as waste and make your own DIY studded tyres for winter riding.

First things first
Find the widest tyres possible for your winter studded tyre project. Verify the maximum allowed by the bike’s fork, then subtract a few millimeters of clearance for the studs. The wider the tyre, the more stable and effective the tyres will be. The knobs need to be large enough to hold and support a screw.
Fork width is one thing, but how about the rims? Are they safety rated to handle the width chosen? The rims don’t need to be fancy. And in fact, an older pair will do just fine. Having a winter wheelset ready to go when the weather dictates is ideal and will save time and frustration. Adding studs to the tyres will add weight to the bike and make a noisy ride. If you want to try out one before committing to two, make it the front tyre. If you like the result, adding them to the rear will only add more control.
Materials
Collect the following before you start.
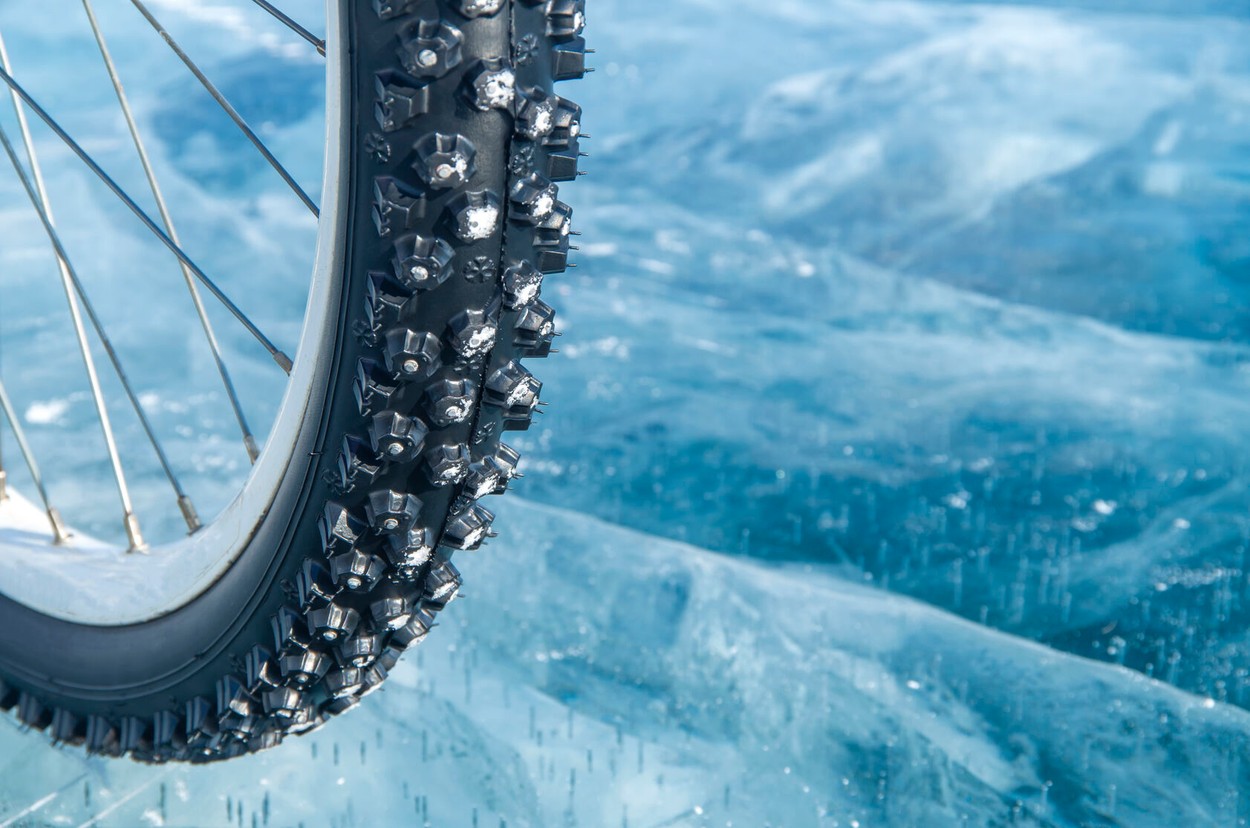
- A set of old tyres. Foldable tyres make the task easier, but use what you’ve got. Treads with more distance between the knobs are best for preventing snow from packing the spaces in between.
- A drill. Cordless is preferred, but any one will do.
- A screwdriver that matches the heads for minor adjustments.
- A box of flat head, self-tapping stainless steel screws (they don’t rust). Count the knobs to give you an idea of how many you need. Add a few millimeters to the tallest knob on the tyre tread pattern. The screws don’t need to protrude far, just enough to catch on the ice and snow. Lengths will vary, of course, so measure and test a few first before you buy in quantity.
- No self-tapping screws? You’ll need a drill bit smaller in diameter than your screws to break through the tyre casing.
- An old tube, a roll of heavy-duty duct tape, or some actual tyre liners to cover the screw heads and keep you from flatting.
- Plastic tyre levers.
- A piece of chalk or marking pen.
- Some patience. The process isn’t fast.
-
Gear up with patience. © Profimedia
The procedure
Find the tyre’s directional arrow before turning it inside out. Use chalk or a pen and mark the direction on the inside of the tyre casing to remind you between screws. Respect the direction with the screws as you go. You do not need to place any screws down the centerline. Concentrate on the sides and extreme shoulder of the tyre only.
There is no need to turn your tyres into a porcupine; the more studs, the slower you’ll go and the louder the ride. Two screws spaced out should do the trick. You can always add more later if necessary. Pick a knob to place your first screw. Use your fingers to feel where to drill or insert the screw, working from the inside out.
Check your work as you go, following the tread pattern as you progress. You’ll essentially be creating two parallel rows of screws that are slightly offset from each other, one on the side, the other on the shoulder. Two screws every few knobs is what you are shooting for.
Next step
Once you’ve completed placing the screws, it’s time to cover the heads on the inside of the tyre in preparation for mounting. Lay down heavy-duty duct tape over the heads. If it doesn’t stick perfectly, it’s not an issue. The tube will hold it in place once inflated. Mount your tyre on the rim, respecting the directional arrow.
If you have tyre liners – optional – run them along the inside of the tyre bed before installing the tube. No tyre liners? Split open an old inner tube and wrap it around the exterior of a slightly inflated good tube (like a coat) before inserting it inside the tyre. Work the tyre bead onto the rim as you would for any flat repair, taking care not to cut your hands with the protruding screws. Use plastic tyre levers to finish installation if required.
Check that the good inner tube isn’t pinched between the tyre bead and rim before inflating. Pump up the tyre slowly to the maximum pressure shown on the sidewall. Put the wheel onto the bike and give it a good spin. Verify that it is turning smoothly (no hops or wobbles), and clearing the fork and frame with the added material.
Test ride
Safety first, so give your new studded winter tyres a spin near you to verify everything is okay before venturing out on a longer ride. Any screw tips that break off (eventually) can be replaced. Lower air pressure may also improve the ride, grip and comfort. Trial and error will allow you to find the right combination.
How did your winter studded tyres turn out? We’d love to see your creations!