
How to measure chain wear
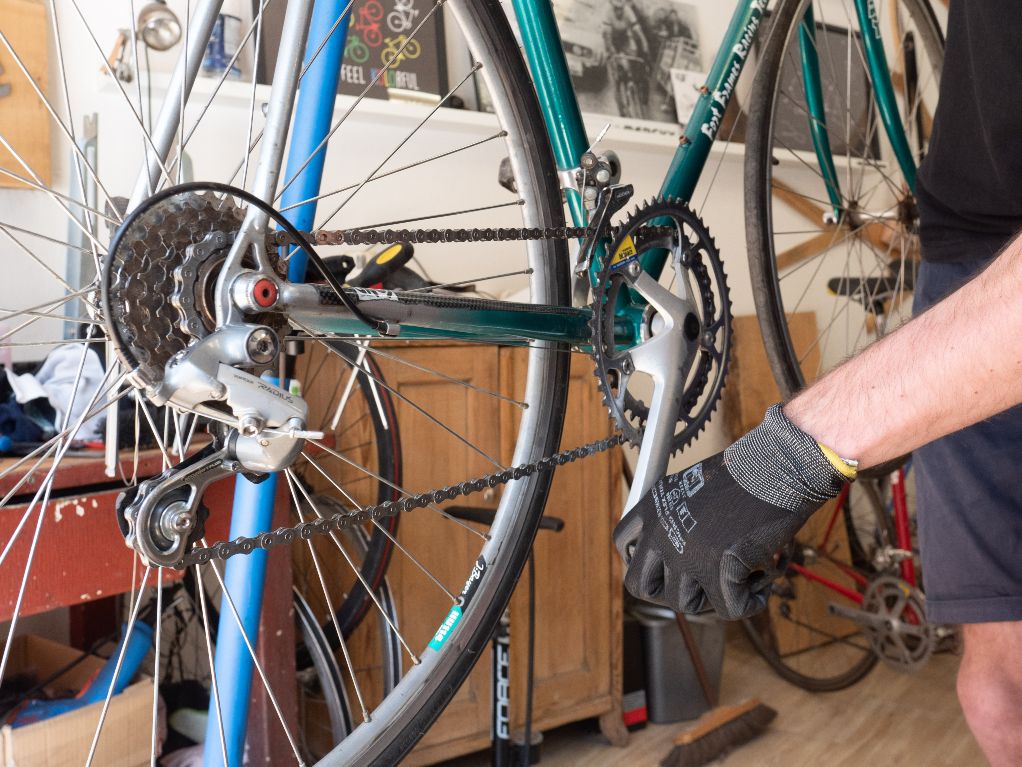
The first and simplest method for checking chain wear if you don’t have a proper tool is to simply lift the chain off the front chainring. Shift into the smallest cog on the rear cassette and the largest chainring in the front, and lift the chain off of the chainring teeth.

If it lifts off the chainring to the point where you can see a lot of daylight between your chain and front chainrings, you either need to replace your chain, or you are quickly approaching the point of needing to replace it. It’s not as accurate as using a proper tool for measuring chain wear, but it’s a good starting point if you haven’t replaced your chain in a while and need to check chain wear.
You can also use a ruler in place of a tool, but you need to know the exact starting measurements of your brand of chain as a control. This is least convenient method because most cyclists don’t perform this type of assessment on a new chain, and it may be hard to read the small measurements on a standard ruler with the chain on your bike, but it is a valid technique. You could use a digital caliper for a more accurate reading, but not everyone has this type of tool around the house.
The third and most precise method is using a tool called a chain checker.

Checking the chain slack with a chain wear indicator
Assessing the reading
The tool measures the percentage of how much longer your bike chain has gotten over time. It’s known as chain stretch. Different models measure chain wear differently, so read the instructions prior to getting started for the most accurate reading. You want to replace it before it gets 0.75% longer. When a worn chain reaches this point, the tool drops easily into place without any force.
In this case, you should immediately replace it. If you don’t, you end up having to buy both the chain and a new cassette, and potentially any chainrings too. These other drivetrain components are much more expensive than the chain itself.
So, how do you replace a chain if it’s worn? The new one must be compatible with the number of speeds on your cassette. If you aren’t sure, count the number of rear sprockets to find your answer. Next, you will need a chain tool, sometimes called a chain breaker.
Park Tool and Shimano are reputable brands that make chain tools. The larger the tool’s handle and grip, the easier it will be as it takes some force to crack the pin. The installation goes faster and easier if you have the proper tools and a quick link. As a general rule, most modern chains come with one.
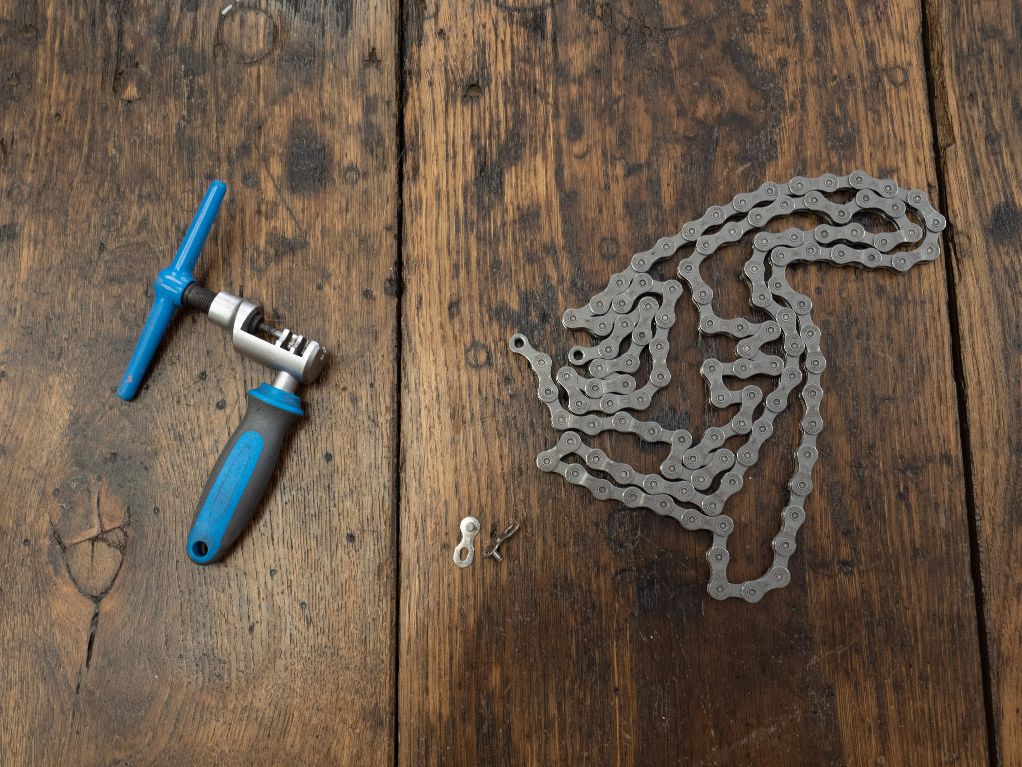
A chain breaker, chain link and a new chain
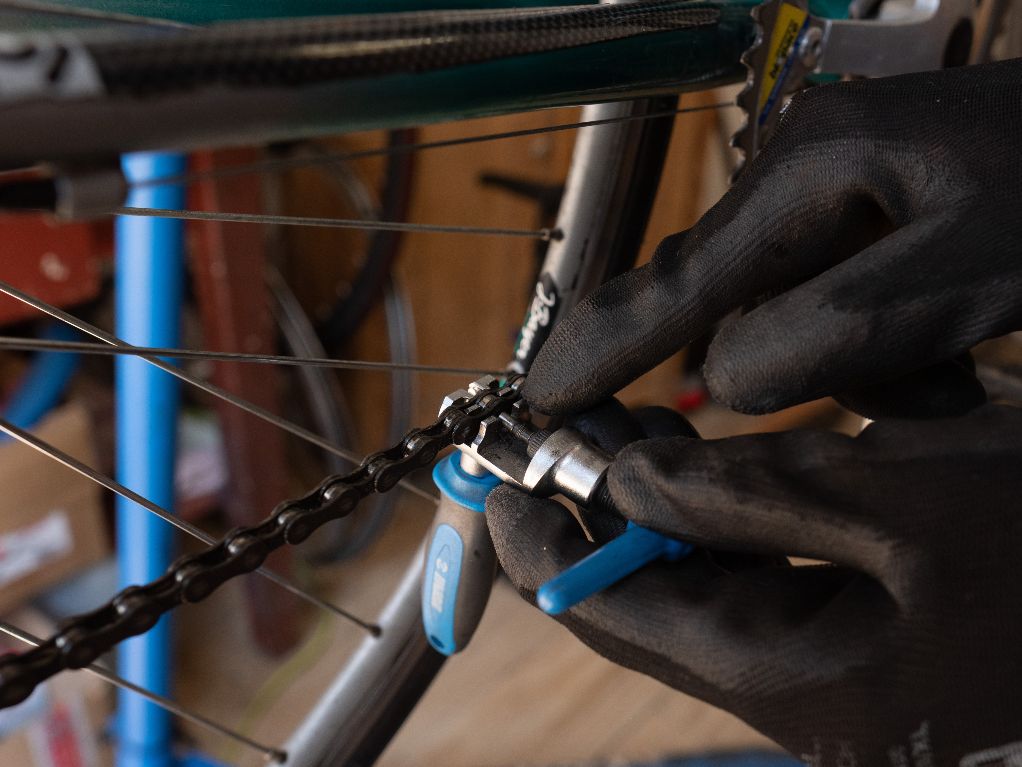
Breaking the chain
First, you need to break the chain. Place the chain breaker in line with any one of the rivets or chain pins that hold the inner and outer plates together and turn the handle until it is pushed all the way out through the other side. You may have to recenter the pin of the tool one or twice as it is quite precise. The pin will most likely fall out and disappear on the floor, but don’t worry, you won’t need it again.
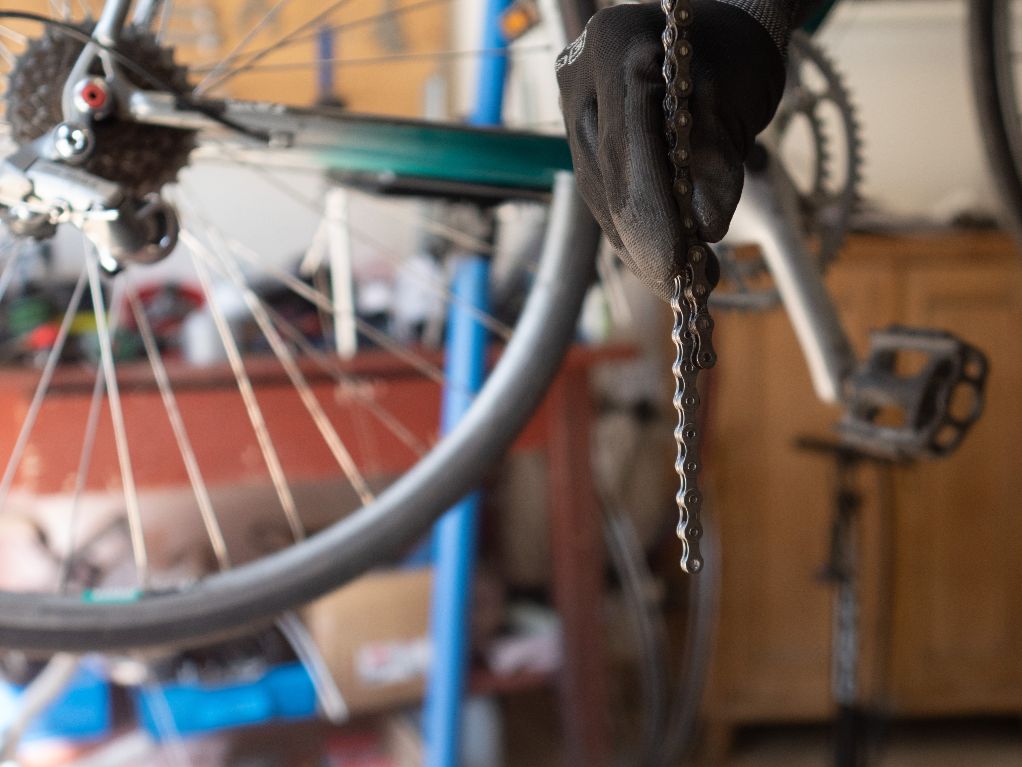
New chain length and connection
The new bicycle chain out of the box will be too long to fit properly. How do you know the length you need? A great tip is to hold the old chain and the new one next to each other so you know exactly which link to break to match the old chain’s length.
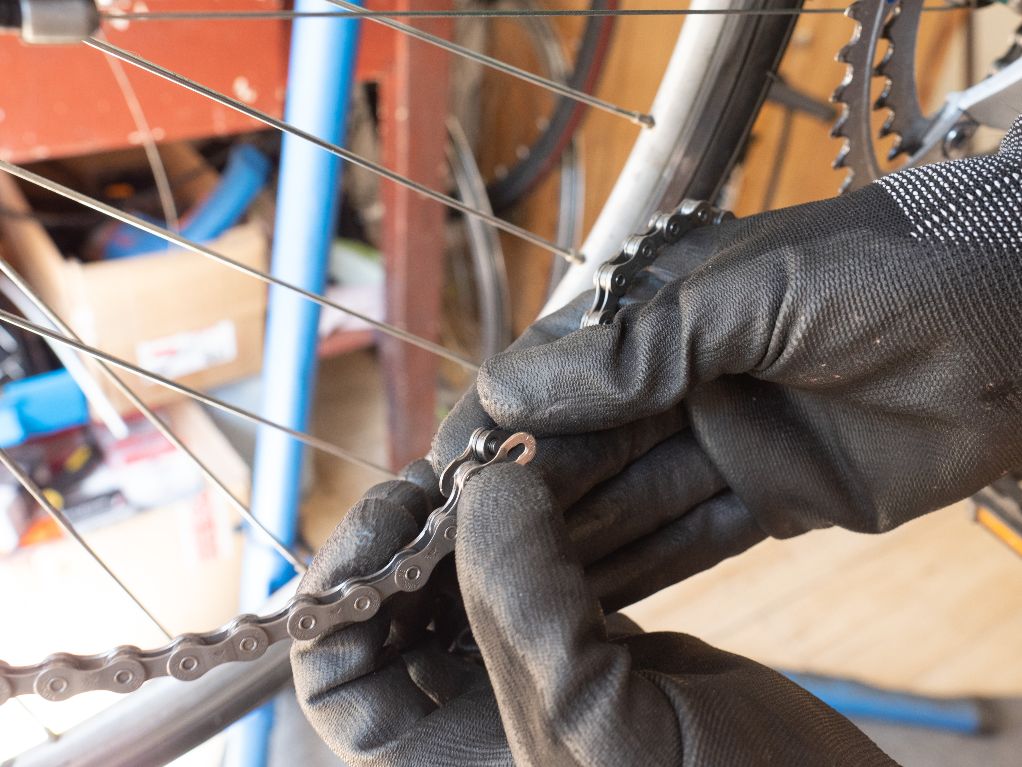
Once you’ve found the correct length, shorten the chain with the chain breaker. Pay attention to the links where you plan to break it as one of each type of end won’t work. The link connects two round ends only. Lace the chain back on your bike and make sure it’s threaded correctly through the rear derailleur. To connect the chain, use the chain quick link included with the chain.


Look for any directional arrows printed on the quick link before putting the two opposing sides together to join them. You will need to apply some pressure so they click into place. The best way to do this is to move the quick link to the top of the chain, secure the rear wheel and press the pedal down. This should create enough tension to pull the quick link together.


That’s it. You won’t have to worry about it again for a couple thousands of miles/kilometres. Enjoy the smooth ride and don’t forget to check for chain wear every few months. Clean and lube your chain regularly for best shifting performance and to reduce friction which will make your chain last as long as possible.