Basic
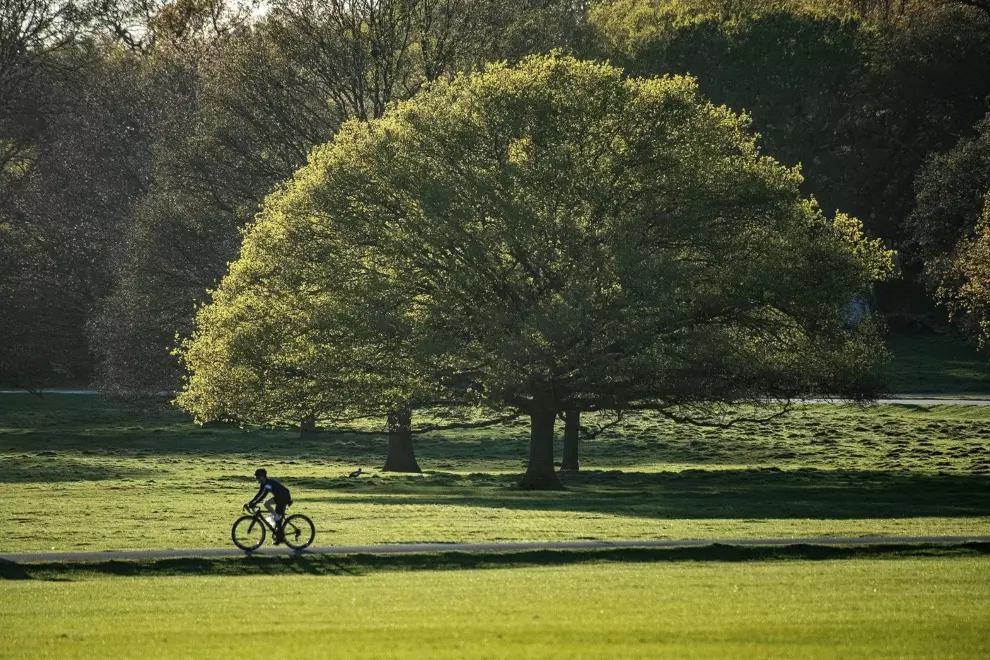
This is a great start and is perfect for those of you who want to enjoy the ride and not worry about carrying any extra weight. This whole setup will fit in your bar bag or in the small Camera Cube. Although it is very basic, it can still deliver great results.
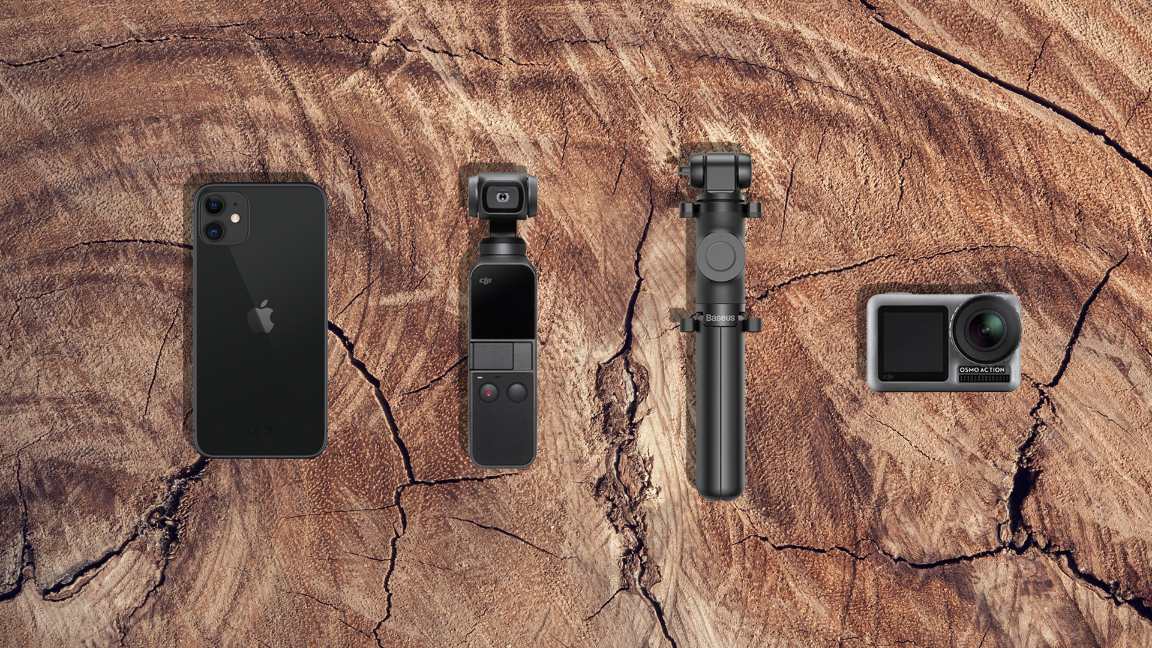
DJI Osmo Action and GoPro for the ease of access and filming in the rain
iPhone 11 and the DJI Osmo Mobile 3: Even though the iPhone stabilization is great, I still prefer to have it on the Osmo as it is ultra-smooth. I also like to bring a selfie stick with a little tripod on the bottom to have the best control of camera movements.
If you want to see this set in action, you can check out my vlog.
Advanced
For enthusiasts who want to bring home a beautiful semi-pro video from their trip.

DJI Osmo Action and GoPro for the same reason as explained above. It just gives you that extra flexibility, and weighs next to nothing.
Small mirrorless camera with a lens or a good compact camera supported by a Gorillapod.
DJI Mini 2 is great because it’s super small and still delivers a sharp image.
I use this option a lot when guiding clients as I want them to have a great bikepacking video to remember their bike holiday, but I still need to travel light and shoot in a non-intrusive way. Here a couple of examples from our trip to Garda or Slovenia.
Pro
This is for those of you who want to create a cinematic movie but still get enough riding in. You bring out the big guns because the goal of the bike trip is making a video.

DJI Osmo Action or GoPro, yes, I just keep one of these in my bag all the time.
Mirrorless Camera with my Lazy lens, which offers a huge variety of crispy sharp shots. And I usually add an extra prime lens or a wide-angle depending on the style of the shooting I am doing.
My trusty Glidecam for the smooth cinematic shots. It has been with me forever and is still gliding strong. I sometimes take the DJI Ronin S instead, if I know I can keep it dry.
Rode VideoMic for in-camera sound and Lapel Microphone with a recorder.
The drone I use the most is the DJI Mavic Air 2
This all sounds like a lot, but you can pretty much fit it in one pannier, which is great. The production value of this is huge, so I wouldn’t recommend it to someone who is in just for the riding. I also normally make this kind of bikepacking video with my team, so we share the weight.
Great examples of this set in action are the following videos we made: Showreel for BIKO Adventures, our trip to Tuscany, a video we made about test riding a Festka, and the Czechia Around video.
Ideas for carrying equipment


Now that you have your rig set up and all the batteries charged, the secret to getting the right shot at the right time is to have your camera always at the ready. As you know from my previous articles, I usually go on multi-day bikepacking trips and sleep outside. That’s why waterproof is the way to go for me. I love the feeling when it starts raining and you know that your bag is going to protect all your expensive film gear no matter what.
If you are wearing a backpack, this Peak Design Capture clip is a great tool to keep your camera ready at all times. Carrying your camera like this on the bike is not the most comfortable solution, so this is more for the times when you know you’ll be needing your camera often. The clip itself is barely noticeable, so it can stay attached to your backpack. It can also be used with an action camera instead of a chest mount.
Another thing I love is this Patagonia Hip Pack from the Black Hole series. What makes it stand out for me is that it’s waterproof. And if people tell you fanny packs aren’t cool, just wait for the rain and watch them wrap their gadgets in plastic bags as you put your camera into a waterproof fanny pack. You can then buy them a beer with your dry money too!

Another tool I use is the Acepac bottle holder. I know, it’s for a water bottle, as the name suggests, but I have more than enough bottle holders on my bike, and this great bag can be used to carry smaller filming equipment.
I also use the Acepac Bar Bag primarily for filming equipment as it is waterproof and can hold even a bigger camera or a drone.
To protect the rig, I recommend getting a bag made for cameras. If you don’t want to carry around a backpack, you can use this great Camera Cube from Peak Design and stick it into a pannier. It is by far the best way of travelling with your gear and protecting it from the elements.

Final thoughts
Making bikepacking videos is a science, and I barely touched the surface here, but now you should have a better idea of how to build your own bikepacking shooting rig. In the end, it comes down to just getting out there and getting those awesome shots you’ve always wanted without your gear getting in the way. In the next part of my series, you will learn how to edit your video and find the perfect music.