
You’re not the only one that does this, but now that summer is on the way it’s time to perform spring bike maintenance on your bike – get it safe and running smoothly for the road and months of happy cycling. There’s a basic checklist to run through when carrying out spring bike maintenance. This is something that anyone can do, and there’s always your friendly local bike shop if you run into a problem.
Tyres
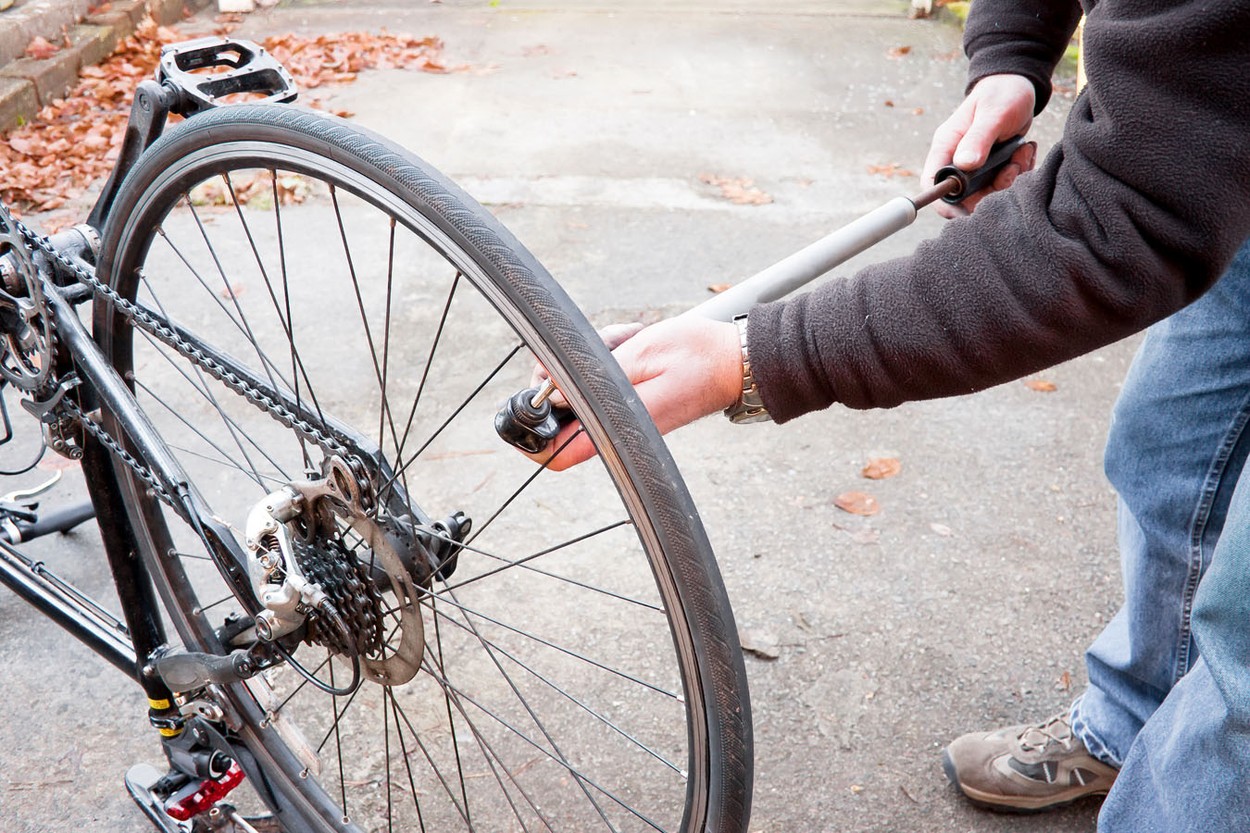
How to check
Press the top with your thumb to check the pressure, it should feel rock hard. Run your eyes over the whole tyre checking for wear in the tread – ridges essential for grip – and fraying. Run your fingers over the outside of the tyre – and preferably the inside if you have time – looking for tears, small holes, and debris.
What to look out for
Low pressure, flats (obviously), significant wear, anything that could cause a puncture or slip.
Solutions
Correcting a flat or low pressure is easy, just change the inner tube or pump it up. Fixing holes and tears in bicycle tyres is also easy, use a filler product to repair or ask your local bike shop to do it for you. If any part of the tyre is badly worn, or a hole is too big to fill, replace it.
Brakes

How to check
Spin both wheels and listen out for rubbing. Squeeze the brake levers and look out for pads hitting the tyre or below braking surface. When the brake levers are pressed fully they should not touch your handlebars and when you release the brake levers, the pads should return equally.
What to look out for
Rubbing, wrong contacts, unevenness, and wear.
Solutions
Always replace your brake pads if they have 0.5cm or less rubber on them. All other issues can be fixed with minor adjustments. It’s a crucial area, so consult your bike mechanic if you’re not sure how to do it.
Chain and drive

How to check
Run your eyes over the chain, making sure it isn’t rusty and it doesn’t sag anywhere. Get the rear wheel off the ground, preferably putting it in a workstand. Use one hand to turn the pedals and the other to flick through the gears, starting on the largest cog on the cassette and the small chain ring. Work down the cassette (the rings on the rear wheel), clicking up to the big chain ring halfway.
What to look out for
Worn chain, gears sticking, gears jumping, rubbing, clicking outside of gear changes.
Solutions
If your chain is sagging, it could need tightening or replacing. This is not an easy job, even with the right tool, so one for the local bike shop. If anything is amiss with your gears, it should be a matter of making minor adjustments to recalibrate and realign. Plenty of how-to videos out there to help you with this. Worth trying yourself.
Lubrication

How to check
You can do this at the same time as you check through the chain and drive as that’s what needs lubrication. Listen for squeaking or grinding and wipe a clean cloth over the chain when it is going around the big chain ring.
What to look out for
No oil on cloth, too much oil on cloth, unpleasant sounds.
Solutions
If you did as we told you and washed your bike thoroughly before working through this spring bike maintenance checklist, then it actually shouldn’t have much oil on the cassette, chain rings, derailleurs or chain. They should be shining!
To apply
Put the chain on the big chain ring. Put the tip of the lubricant bottle on the top of the chain that is closest to the ground. Squeeze very lightly as you turn the pedals one or two revolutions. Spin them again, and wipe chain lightly with a cloth to mop up excess.


